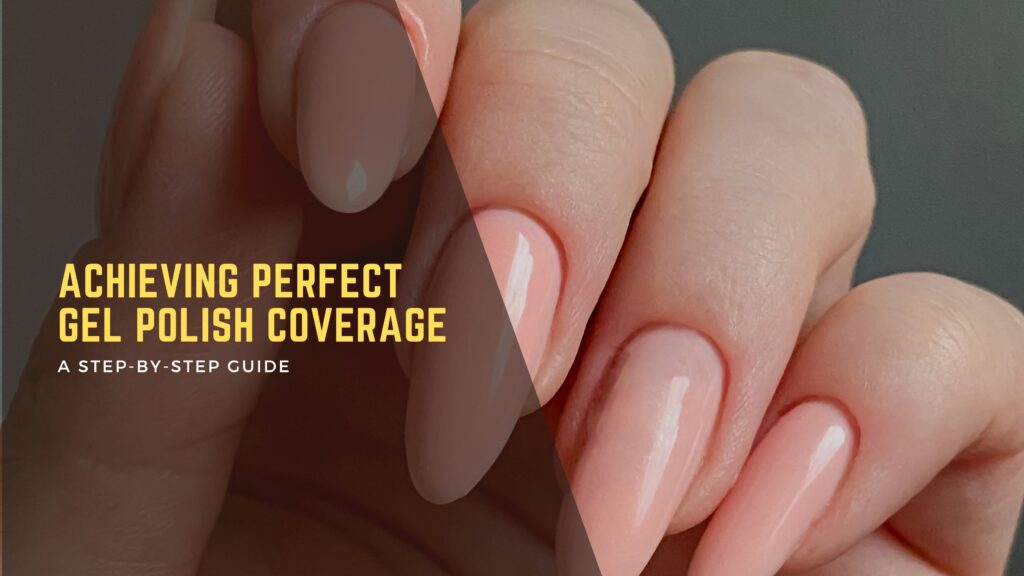
Gel polish remains one of the most requested nail services, and for good reason: it gives a glossy, chip-resistant finish that ordinary polish simply can’t match. Whether you’re a nail artist looking to sharpen your technique or trying gel for the first time, getting even coverage comes down to a handful of steps done properly, in order, without rushing any of them. At Cosmeza Beauty Institute, our Nail Extension Course in Dubai, Nail Artist Course, and Advanced Nail Technician Certification all build this technique from the ground up.
Step 1: Prepare Your Nails
Good gel application starts well before the polish comes out.
- Hygiene – Wash hands thoroughly to remove oils and residue that could interfere with adhesion.
- Cuticle care – Gently push back cuticles with a cuticle pusher, taking care not to leave excess skin that will catch on the polish later.
- Shaping – File to your preferred shape (square, round, or almond), keeping all nails at a consistent length for an even, professional look.
- Buffing – Lightly buff the natural nail surface to remove any remaining oil and create a slightly textured base the polish can grip onto.
Skipping any of these steps is usually where lifting and uneven coverage start, so it’s worth taking the extra few minutes here.
Step 2: Apply a Base Coat
The base coat does two jobs: it helps the gel polish grip the nail and it stops pigmented colours from staining the nail bed underneath.
- Apply a thin, even layer across the whole nail.
- Keep the coat away from the cuticles and side walls to avoid lifting.
- Cure under a UV or LED lamp, following the timing on the product you’re using.
Our Advanced Nail Technician Certification covers base coat selection and application in more depth, along with how to troubleshoot common adhesion issues.
Step 3: Apply the Gel Polish
This is where most streaking and clumping happens if the layers go on too thick.
- First coat – Start from the centre of the nail and work outward, covering the full nail while staying clear of the cuticles. Keep it thin.
- Curing – Cure under the lamp for the time recommended by the manufacturer, typically 30 to 60 seconds under LED, longer under UV.
- Second coat – Apply a second thin layer for full colour depth and even opacity, again avoiding the cuticles and side walls, then cure.
| Lamp type | Typical cure time per coat | Notes |
| LED | 30–60 seconds | Faster, cures most modern gels effectively |
| UV | 2 minutes | Slower but compatible with a wider range of older formulas |
Our Nail Artist Course covers this layer-by-layer technique properly, including how to fix common issues like bubbling or uneven pigment before they set.
Step 4: Seal with a Top Coat
The top coat locks everything in and gives the glossy finish gel polish is known for.
- Apply a thin, even layer over the fully cured colour.
- Cover the free edge of the nail completely, this is the part most prone to chipping first.
- Cure under the lamp as directed.
Done properly, this seals the manicure for two weeks or longer, depending on nail growth and daily wear.
Step 5: Cleanse and Nourish
After the final cure, nails are usually left with a slightly sticky residue. Wipe this away with a lint-free pad and a proper gel cleanser or isopropyl alcohol. Finish with cuticle oil worked into the nail bed and surrounding skin, this keeps the skin soft and helps prevent the cuticles drying out and cracking over the following weeks.
A Note on HEMA-Free Formulas
More clients are now asking about HEMA-free gel polishes, following a rise in reported sensitivities to the ingredient in some gel systems. It’s not something every product line offers, but it’s worth knowing which of your suppliers do, since allergy-conscious clients are becoming a larger share of the booking base in many salons.
Common Mistakes That Ruin Coverage
- Applying coats too thickly, which causes wrinkling during cure and uneven gloss.
- Letting polish touch the cuticles, which leads to early lifting.
- Under-curing to save time, leaving the gel soft underneath a hard top layer.
- Skipping the buffing step, which reduces how well the polish grips the nail.
Final Thoughts
Flawless gel coverage isn’t about expensive products, it’s about technique done consistently: thin layers, proper curing, and not rushing the prep stage. Get those right and the rest follows.
If you’d like to build this into a proper professional skill, our Nail Artist Course, Nail Extension Course in Dubai, and Advanced Nail Technician Certification at Cosmeza Beauty Institute take you through the full technique, along with the troubleshooting that separates salon-quality work from an average finish.
FAQs
1. Can I apply gel polish without a base coat?
Technically yes, but it isn’t recommended. The base coat improves adhesion and protects the nail bed from staining, especially with darker or pigmented colours.
2. How long does gel polish last?
Around two weeks without chipping when applied correctly, though this varies depending on nail growth rate and how hands are used day to day.
3. What’s the best way to remove gel polish?
Soak nails in acetone for 10 to 15 minutes, then gently ease the softened polish away with a cuticle pusher. Picking or peeling it off risks damaging the natural nail underneath.
4. How can I improve my gel polish application?
Technique matters more than product price. A Nail Artist Course or Advanced Nail Technician Certification builds the layering, curing, and prep skills that lead to consistently flawless results.
5. Can gel polish be applied to natural nails?
Yes, and it’s actually one of the most popular uses. It gives natural nails a durable, high-gloss finish without needing an extension underneath.
6. Is gel polish safe to use regularly?
Generally yes, provided nails get occasional breaks to recover and cuticle oil is used consistently. Continuous wear without any rest period can leave nails thinner and more prone to peeling over time.