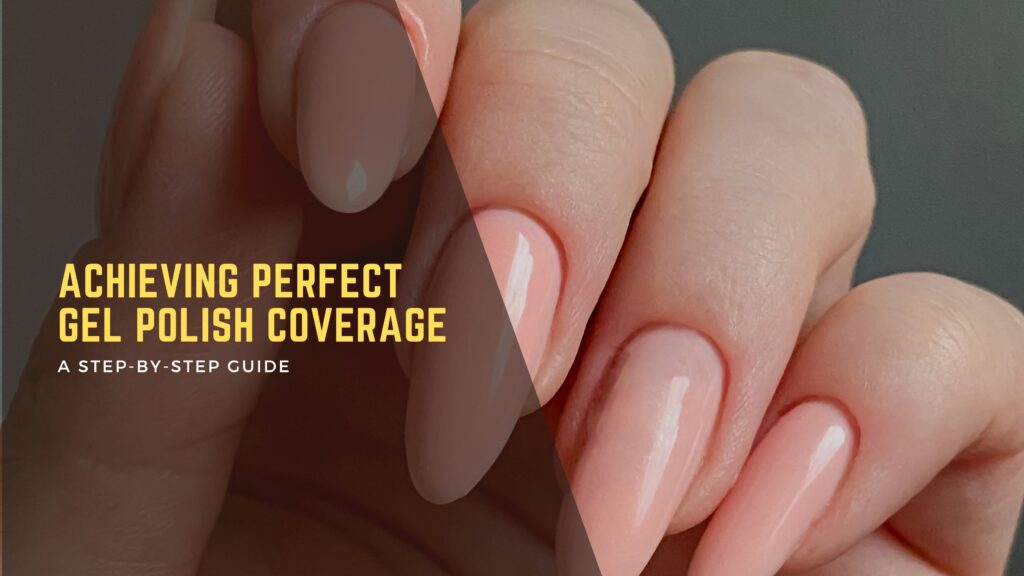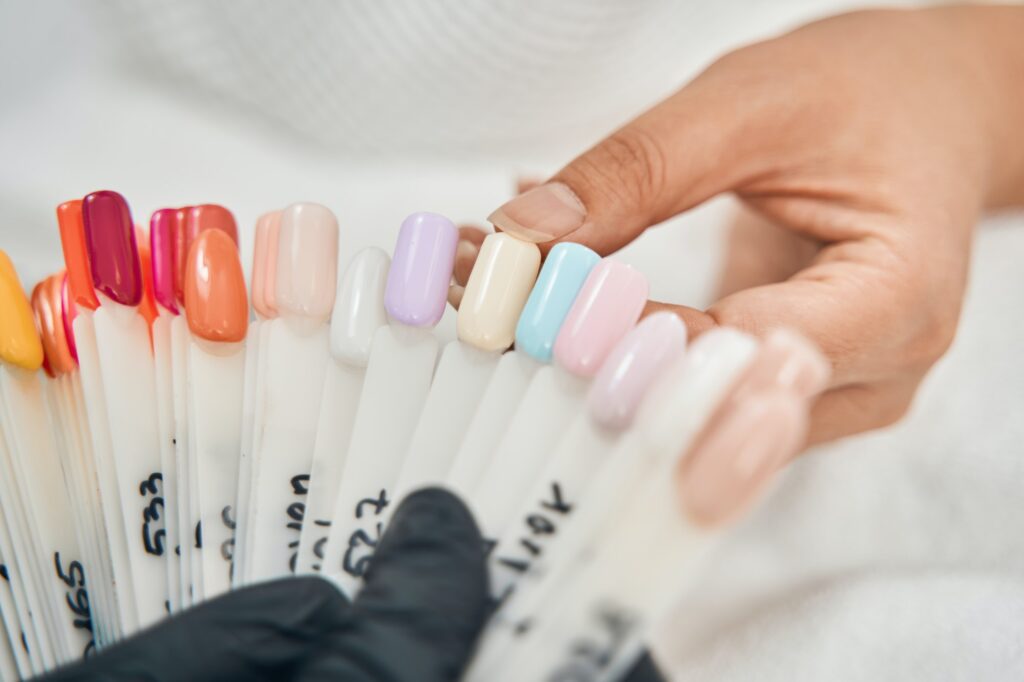
Gel Polish is a popular option for those who seek a long-lasting, bright finish. Whether you are a nail artist who are looking to correct their technique or someone wants to try it for the first time, understand how to get the right gel polish coverage. In this step-by-step guide, we will walk through the process so that you can get salon-quality results at home or in your salon. At the Cosmeza Beauty Institute, we provide special training programs such as our advanced nail technician certification, nail artist course, nail art course in Dubai and Nail Extension Course in Dubai, which can help you do master gel polish techniques and more.
Step 1: Prepare Your Nails
The initial step in achieving exceptional gel polish coverage starts with ensuring proper pre-nail work is done. It also has:
Hygiene: The most basic level of cleanliness begins with washing your hands to get rid of any residues and oil.
Cute Care: With the help of a cuticle push, delicately handle the cuticles, ensuring that no excess skin is present to meddle with polish.
Shaping: Regardless whether you prefer square, rounded or almond nails, file your nails to the desired length. Filing nails to the same length makes applying and wearing polish more reliable.
Buffing: Lightly buffing a natural nail’s surface removes oil. The purpose of this is to give the polish better adhesion.
Observation of the above steps assists in application of gel plaster polish proves user-friendly.
Step 2: Apply a Base Coat
The base coat is crucial for helping the gel polish adhere to the nails and preventing any staining. When applying the base coat:
- Apply a thin, even layer.
- Make sure the base coat doesn’t touch the cuticles or sides of the nails, as this can cause lifting.
- Cure the base coat with a UV or LED lamp following manufacturer’s instructions.
If you’re looking to expand your skills and gain more certification, Advanced Nail Technician Certification at Cosmeza Beauty Institute offers advanced techniques for working with gel polishes and other nail services.
Step 3: Apply the Gel Polish
The gel polish itself should be applied in thin, even layers to avoid clumping and streaks. Follow these steps for the best coverage:
- First Coat: Apply a thin layer of gel polish, starting from the center of the nail and moving outward to the sides. Be sure to cover the entire nail, but avoid touching the cuticles.
- Curing: Cure the first coat under the UV or LED lamp for the recommended amount of time (usually 30-60 seconds depending on the lamp).
- Second Coat: Apply a second thin coat of gel polish for a more vibrant color. Once again, avoid the cuticles and sides of the nail. Cure the second coat as well.
If you’re looking to elevate your skills in gel application and more, our Nail Artist Course at Cosmeza Beauty Institute will teach you professional techniques for flawless nail art and perfect gel polish coverage.
Step 4: Seal with a Top Coat

The top coat seals in your gel polish, giving your nails a high-gloss finish and added durability. Here’s how to apply the top coat correctly:
- Apply a thin, even layer of the top coat over the cured gel polish.
- Be sure to cover the edges of the nail to prevent chipping.
- Cure the top coat under the UV or LED lamp.
This step ensures that your nails stay glossy and resistant to scratches for up to two weeks or more, depending on your lifestyle.
Step 5: Cleanse and Nourish
After curing the final top coat, you’ll likely have a sticky residue left on your nails. Cleanse this with a lint-free wipe and some nail cleanser or rubbing alcohol to remove any excess. Then, apply a nourishing cuticle oil to hydrate the cuticles and surrounding skin, keeping your nails and hands soft and healthy.
Final Thoughts
Achieving perfect gel polish coverage doesn’t have to be complicated; with the right techniques and a little practice, you can get professional results every time. Whether you’re just starting out or already have experience, taking the right steps and using high-quality products will help ensure that your nails look amazing for weeks.
If you’re passionate about perfecting your skills, consider enrolling in Cosmeza Beauty Institute’s Nail Artist Course, Nail Extension Course in Dubai, or Advanced Nail Technician Certification to deepen your knowledge and gain professional certifications. Mastering the art of gel polish application is just one step toward becoming a top nail artist in Dubai, and Cosmeza is here to help you on your journey!
FAQS
1. Can I apply gel polish without a base coat?
While you technically can, it’s not recommended. A base coat helps the gel polish adhere better to your nails and reduces the risk of lifting or staining your nails.
2. How long does gel polish last?
Gel polish typically lasts around 2 weeks without chipping, depending on how well it’s applied and how you care for your nails.
3. What’s the best way to remove gel polish?
To remove gel polish safely, soak your nails in acetone for 10-15 minutes, then gently remove the polish using a cuticle pusher. Avoid picking at the polish to prevent damaging your nails.
4. How can I improve my gel polish application?
The key to perfect gel polish is in the technique. Taking a Nail Art Course in Dubai or an Advanced Nail Technician Certification can help you master the skills necessary for flawless application and design.
5. Can I apply gel polish on natural nails?
Yes! Gel polish is perfect for natural nails. It’s ideal for providing a longer-lasting finish and high-gloss look, especially if you’re looking for durability and shine.


